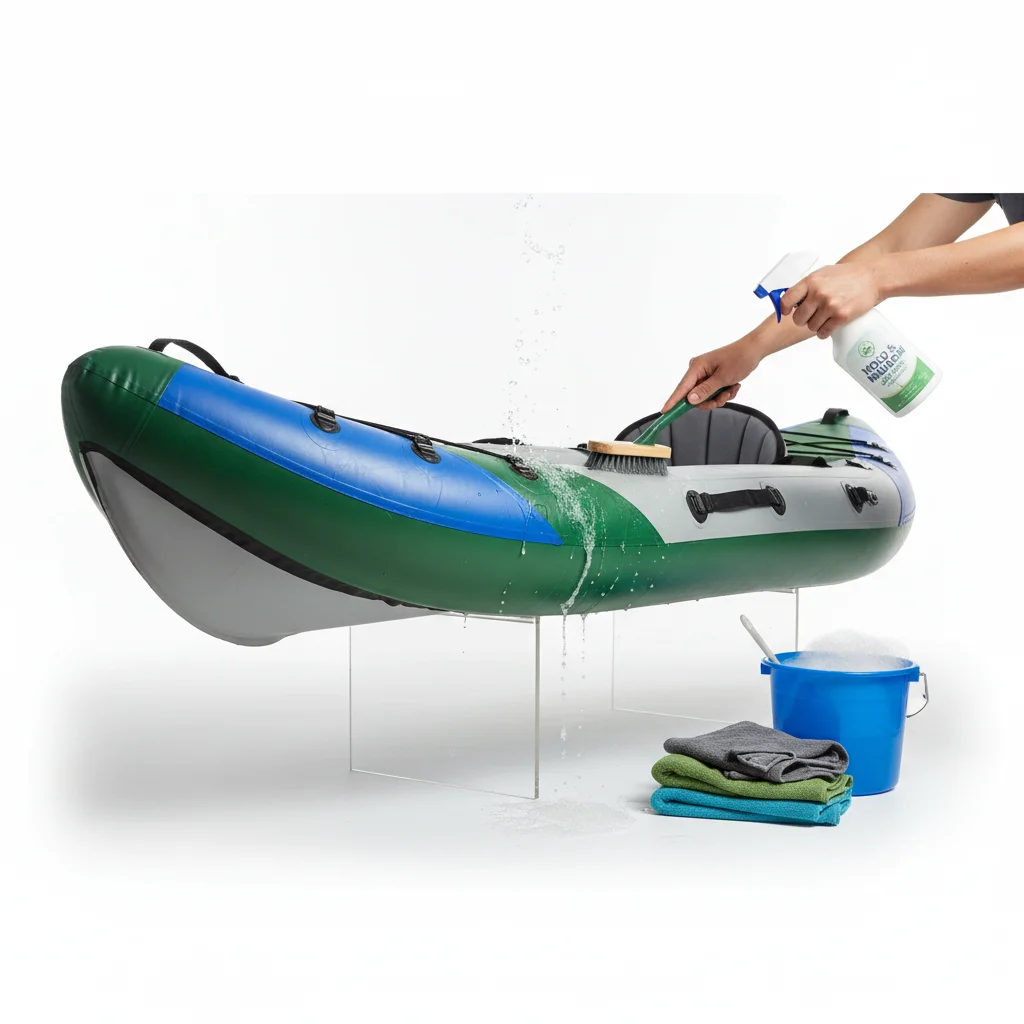
Proper inflatable kayak cleaning is crucial for preventing mold and mildew, which can significantly shorten the lifespan of your vessel and create unpleasant odors. By following a simple five-step process, you can ensure your inflatable kayak remains in pristine condition, ready for your next adventure.
Step 1: Rinse Immediately After Use
The most important step in preventing mold is to rinse your inflatable kayak thoroughly with fresh water immediately after every use. Saltwater, lake water, and river water all contain microorganisms and debris that can foster mold growth if left to dry on the surface. Use a hose to spray down the entire kayak, paying close attention to seams, crevices, and under the seats where water can pool. This initial rinse removes the bulk of contaminants before they have a chance to set in.
Step 2: Gentle Soap Scrub for Stubborn Grime
For more thorough cleaning or to remove stubborn grime, dirt, or algae, use a mild soap solution. Mix a small amount of dish soap or a specialized marine cleaner with water. Avoid harsh chemical cleaners, as these can damage the PVC or Hypalon material of your kayak. Use a soft brush or sponge to gently scrub all surfaces, including the floor, sidewalls, and any removable components like seats or skegs. Rinse again thoroughly with fresh water to remove all soap residue.
Step 3: Focus on Mold-Prone Areas
|
Our Picks for the Best Inflatable Kayak in 2026
As an Amazon Associate I earn from qualifying purchases.
|
||
| Num | Product | Action |
|---|---|---|
| 1 | INTEX 68303EP Excursion Pro K1 Inflatable Kayak Set: Includes Deluxe 86in Kayak Paddles and High-Output Pump – SuperTough PVC – Adjustable Bucket Seat – 1-Person – 220lb Weight Capacity |

|
| 2 | Intex 68307EP Explorer K2 Inflatable Kayak Set: Includes Deluxe 86in Aluminum Oars and High-Output Pump – SuperStrong PVC – Adjustable Seats with Backrest – 2-Person – 400lb Weight Capacity |
|
| 3 | INTEX Challenger Inflatable Kayak Series: Includes Deluxe 86in Kayak Paddles and High-Output Pump – SuperStrong PVC – Adjustable Seat with Backrest – Removable Skeg – Cargo Storage Net |
|
| 4 | INTEX 68324EP Excursion 4 Inflatable Boat Set: Includes Deluxe 54in Boat Oars and High-Output Pump – Adjustable Seats with Backrest – Fishing Rod Holders – 4-Person – 1100lb Weight Capacity |
|
| 5 | Retrospec June Nano Kids Inflatable Fishing Paddle Board SUP Kayak: 9'6" Hybrid Paddleboard with Rod Holders, Removable Seat - Lightweight Portable Youth Fishing Board |
|
| 6 | INTEX Challenger Inflatable Kayak Series: Includes Deluxe 86in Kayak Paddles and High-Output Pump – SuperStrong PVC – Adjustable Seat with Backrest – Removable Skeg – Cargo Storage Net |
|
| 7 | GYMAX Inflatable Kayak, 12.5Ft 507lbs Tandem Kayak with 2 Aluminum Paddles, 2 Padded Seats, Footrests, 2 Fins, Hand Pump, Carry Bag & Repair Kit, 2 Person Fishing Touring Kayak for Adults |
|
| 8 | Intex Challenger K1 Kayak Kit |
|
| 9 | Intex 68309EP Excursion Pro K2 Inflatable Kayak Set: Includes Deluxe 86in Kayak Paddles and High-Output Pump – SuperTough PVC – Adjustable Bucket Seat – 2-Person – 400lb Weight Capacity |
|
| 10 | Advanced Elements - AdvancedFrame Sport Inflatable Kayak - Lightweight Day Touring Kayak with Bag and Pump |
|
Certain areas of an inflatable kayak are more susceptible to mold and mildew. These include the underside of seats, inside storage compartments, and any areas that remain damp for extended periods. For existing mold spots, a solution of white vinegar and water (1:1 ratio) can be effective. Apply the solution, let it sit for 10-15 minutes, then scrub gently and rinse. For persistent stains, a specialized mold remover designed for marine use may be necessary. Always test any cleaning solution on an inconspicuous area first.
- Check under seats and floorboards for hidden moisture.
- Inspect all seams and valves for any trapped water.
- Clean any integrated storage pockets or bungee areas.
- Pay attention to the inside of the kayak, especially if it has a self-bailing floor.
- Ensure all drain plugs are open during the drying process.
Step 4: Thorough Drying is Non-Negotiable
This is arguably the most critical step in mold prevention. An inflatable kayak must be completely dry before storage. Inflate the kayak partially and leave it in a shaded, well-ventilated area to air dry. Direct sunlight can degrade the material over time. Flip the kayak periodically to ensure all sides dry evenly. Use a towel to wipe down any remaining moisture, especially in folds or creases. If possible, leave it inflated for a day or two to ensure every last drop of moisture has evaporated.
Step 5: Proper Storage for Long-Term Protection
Once your inflatable kayak is thoroughly clean and dry, proper storage is essential. Store it in a cool, dry place away from direct sunlight and extreme temperatures. If you’re deflating it, roll it loosely rather than folding it tightly, as tight folds can trap moisture and create stress points on the material. Consider using a breathable storage bag to protect it from dust and pests while allowing any residual moisture to escape. Never store a damp kayak in a sealed bag or container.

This guide is spot on! I’ve been diligent about cleaning my inflatable kayak, especially after a bad experience with mold on a previous one. The suggestion to pay close attention to seams and under the seats during the initial rinse is key. It really helps prevent those hidden mold spots from forming.
I found the advice on rinsing immediately after use to be super helpful, especially after taking my Advanced Elements kayak out in brackish water. However, I wish there was a bit more detail on specific eco-friendly cleaning products. It just says ‘gentle soap,’ and I’m always looking for the best options that won’t harm the environment.
I used to just hose down my kayak and call it a day, but I’ve had issues with mildew in the past. Following the advice to use a gentle soap scrub for stubborn grime has made a huge difference. My Intex Explorer K2 looks and smells so much better now, even after a long weekend on the lake. Definitely worth the extra few minutes.
The tip about ensuring the kayak is completely dry before storage is something I’ve always tried to do, but sometimes it’s tough to get every last bit. I appreciate the emphasis on air drying in a shaded area to prevent UV damage. My Sea Eagle 370 has held up well, and I think this careful drying process is a big part of it.